Three more minutes of fame. Here's the second video and it's on increasing and decreasing. I'm a little embarrassed because these are in no way very professional looking, they aren't really comprehensive and they originally were intended for just the sister. Also, to me it sounds like I have marbles in the mouth. The truth of the matter is that I usually have jelly beans, not marbles, in the mouth but not this time. o well. As long as it helps her progress...
Monday, December 29, 2008
Sunday, December 28, 2008
Machine Knitting Ewrap Video Tutorial
I have a dear sister who is learning how to machine knit on a Brother KX350 midgauge. It's her first machine and she hasn't really seen anyone use a knitting machine. Maybe years ago when I got my first machine, but not lately, anyway. I had planned to visit her in Colorado last summer and do some instruction, but my husband got sick so I couldn't go. Trying to explain stuff through emails is difficult at best. So, this Christmas vacation my daughter is home and together we decided to try our hand at movie production. (Ha!) This isn't so great, but it's a beginning. Now let's see if I can embed the video into this post.
Weird...it doesn't sound like me. But, that was fun and a good learning experience. I tried putting it on You Tube as a private video because I don't feel that it's worthy of broadcasting around. But it was cumbersome allowing a list of people --- I didn't really spend the time to catch on. So I changed it to a public video and that seemed to be much easier.
We're all about video this month. A few members of the family have gotten webcams and are communicating with Skype. It has its drawbacks, but all in all, it's been fun seeing and hearing the person you're communicating with. Since it's free, there's nothing really to complain about.
Sunday, December 21, 2008
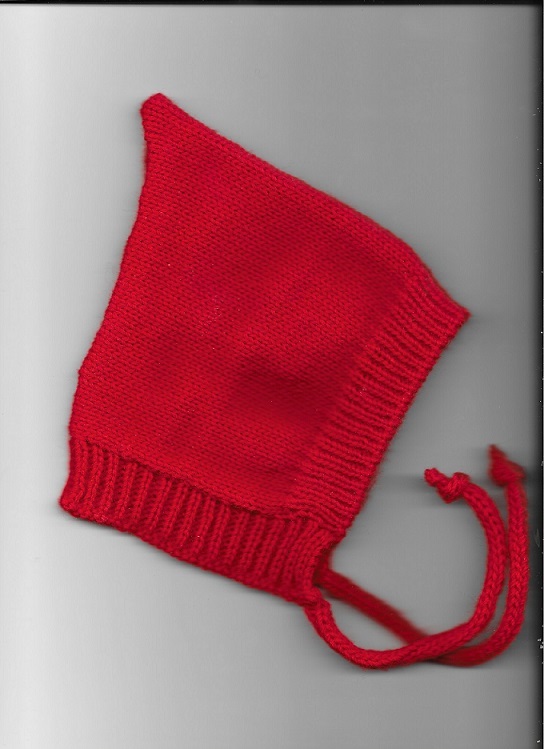
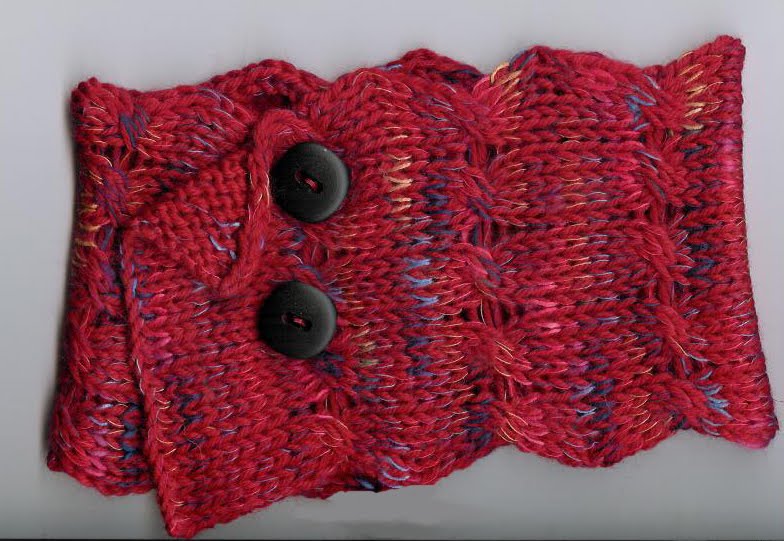
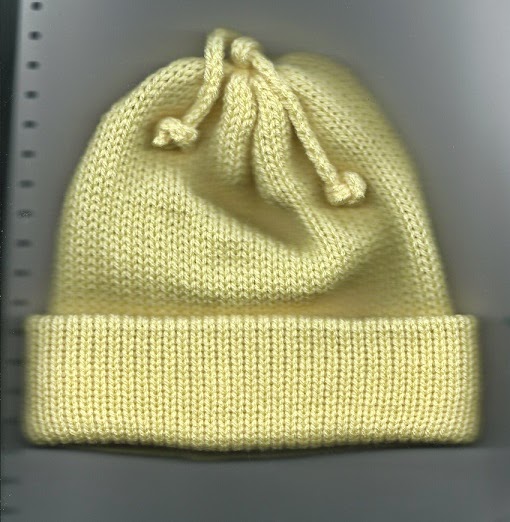
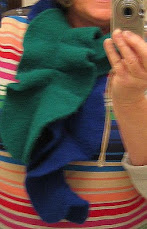
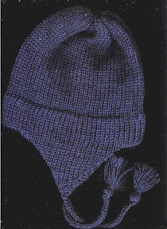
Warming the neck

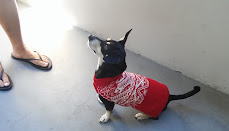
Colder than Hades here. When I took the dog out this morning it was below zero. It's an adventure breathing when it's that cold. Gertie, the Keeshond, loves it, though. The colder the better. She is perfecting her snow angels and snow plowing routines. She gets on her back and does a reasonable imitation of snow angel-making, then hops up and jumps around 180 degrees, and finally puts her nose under the snow and runs. It's comical. Or, would be if it weren't so cold. I have to offer all manner of treats to get her to come inside. Thinking of knitting her some booties though. She has to lift one paw off the ground until she's made the rounds of all 4, trying to keep her feet from freezing to the ground. Ah....Minnesota winters.
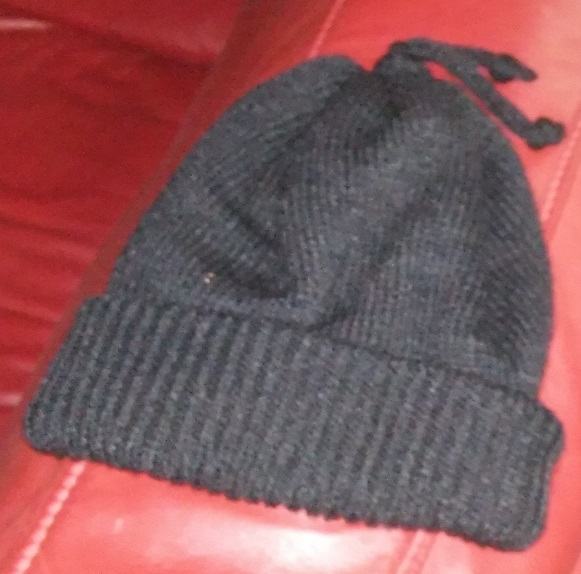
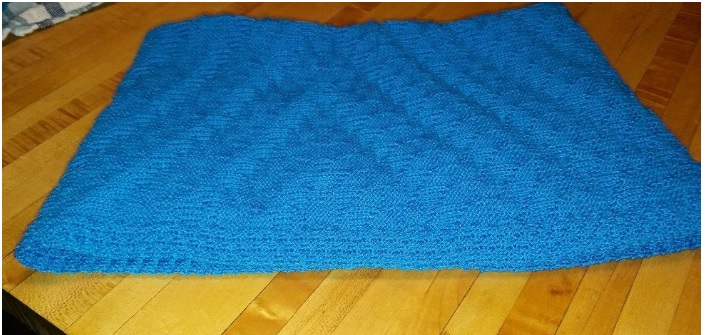
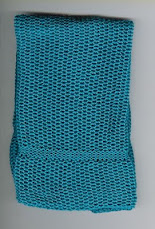
I'm still knitting. Bought some yarn that looks a little like rag wool, except it's cotton and brownish instead of gray. It's a neck warmer thing. On any machine that works with your yarn, Cast on 7 inches worth, knit for 23 inches. Hang beginning stitches on the machine and push to the back of the bed. Hang a bottom side in the hooks of the needles, push stitches through and bind off. I did an attached I cord around the neck to bring it in a little, but it probably wasn't necessary. You can't really see the I cord in the picture. The edges roll anyway, but it doesn't matter. I had two buttons in my stash that go well. If you make it, you might want to make sure you don't twist into a moebius when you hang the second set of stitches. Or maybe you do want to twist it. Up to you. Didn't take long to knit at all!
Two more days and the daughter comes home from Califoria. Even though she grew up here, it's going to be a shock to the system.
Friday, December 12, 2008
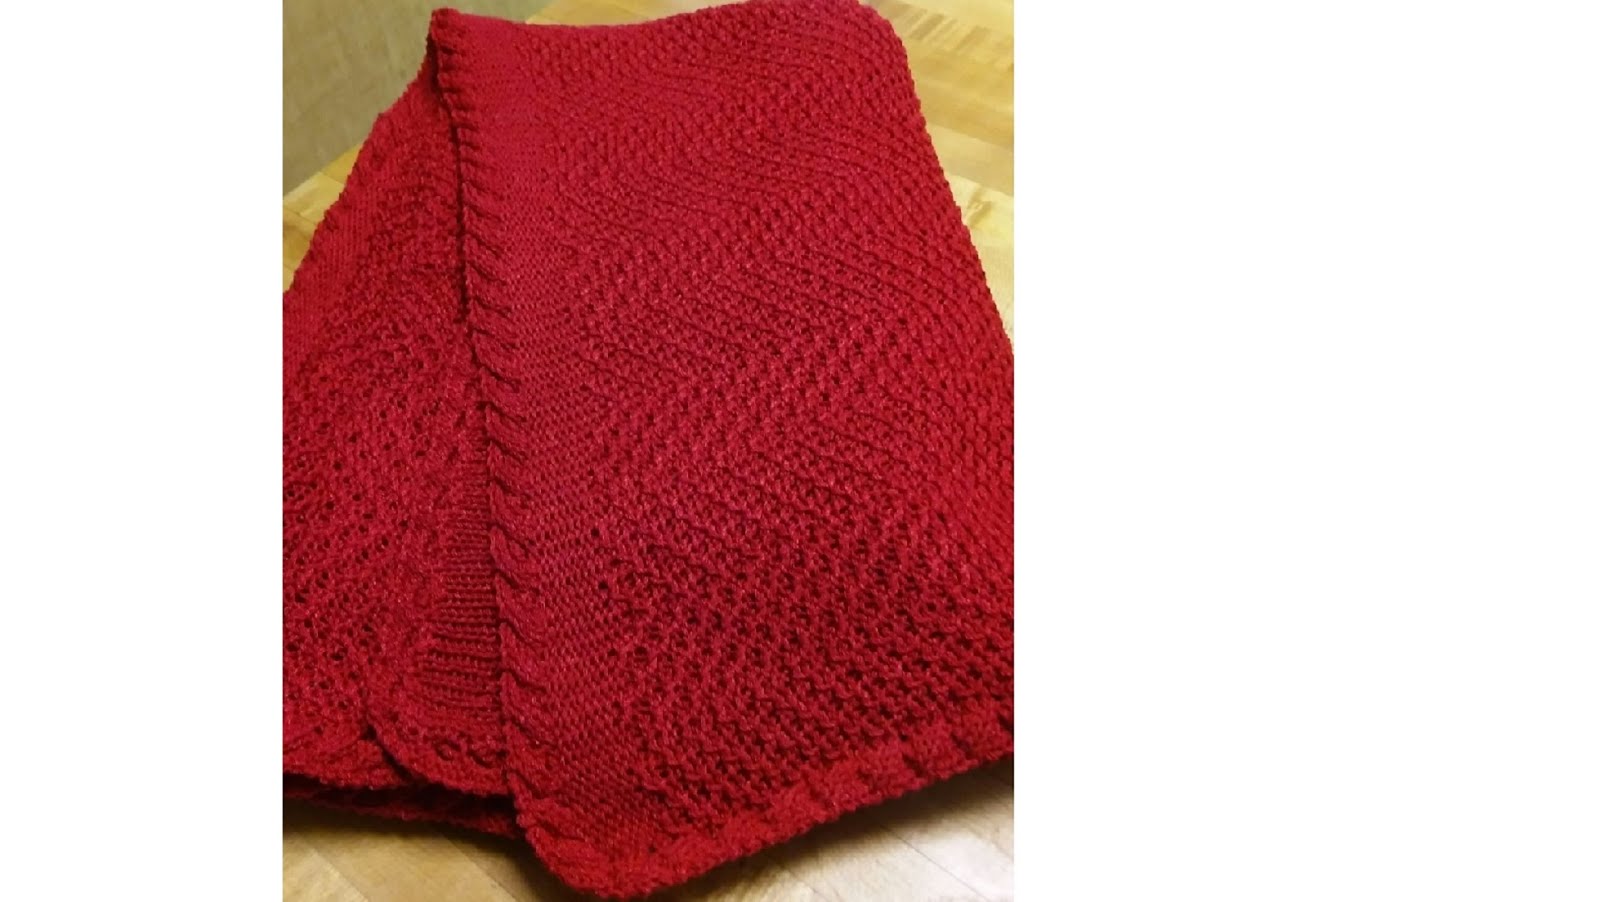
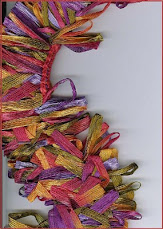
Textured Scarf - aka The Easiest Scarf in the World

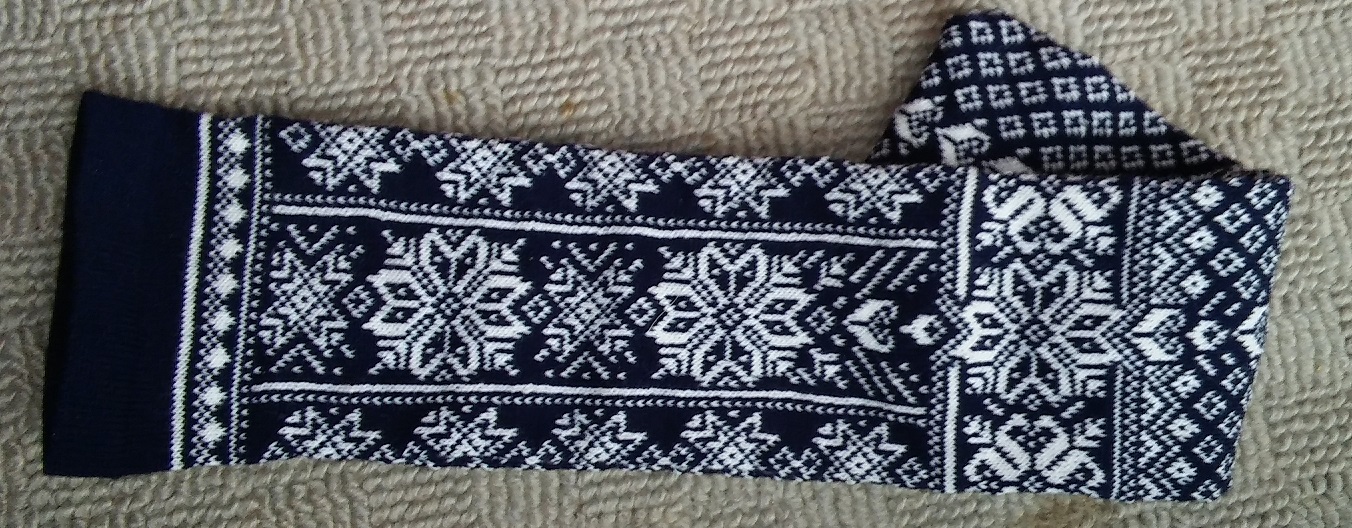
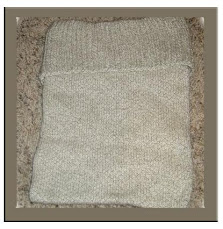
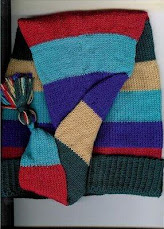
This morning I knocked off another Christmas present. I combined some slubby mill end yarn with lace weight and used a tuck stitch to keep the stitches open and show off the yarn. This scan doesn't do it justice. It's nice! Here is the tuck stitch.

I used 100 stitches at T 10 on the standard and did 800 rows. Originally I was just going to steam it and leave it single layer, but it rolled too much. So I sewed it into a tube on my sewing machine, turned it right side out and steamed a little. I liked the purl side best. If you were to make this on a midgauge or bulky, you'd need less stitches and rows. Any slubby yarn or combination of yarns would be nice. I love that knitting machines give you almost instant gratification. Love to hand knit, but when you need something in a hurry, this is it. I think the scarf took about an hour to make once I decided on the yarn. How long would it have taken me to hand knit a scarf 6 feet long by 12 inches wide??? I hate to think how long...
Tuesday, December 9, 2008
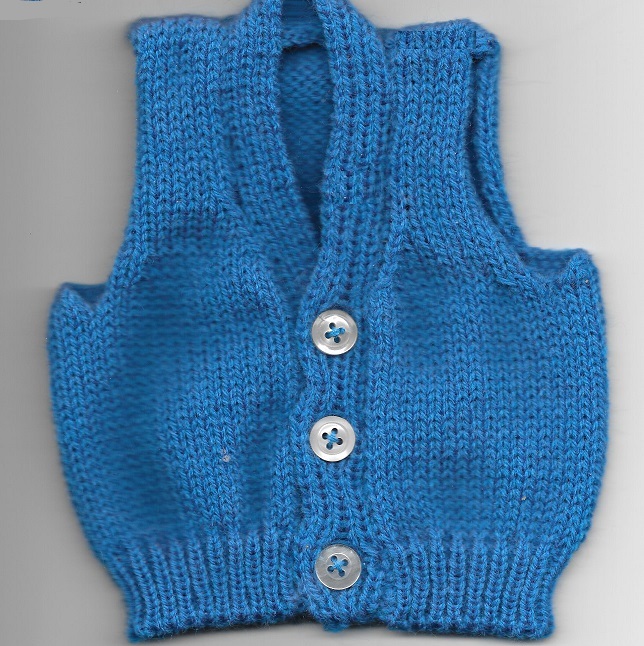
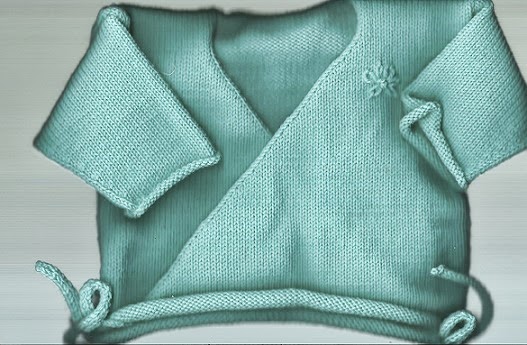
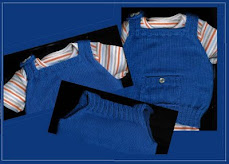
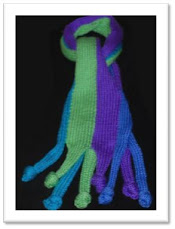
Tiny Christmas Sweater Ornament

I'm on a roll! I decided knitting little things is more fun than knitting big complicated things---some times. After a few tries getting the proportions good enough, I came up with this little cutie. She's the plain version. I was thinking I'd add some fairisle motifs to the front of the next one(s). You are welcome to the pattern. I made it on my standard gauge machine. I think you could try it on a midgauge or bulky and if it turns out way too large, you could modify but use the techniques. I'm sticking with the (electronic) standard so I can do some fairisle stuff on it more easily. It takes a tiny bit of yarn, so if you have odds and ends you want to get rid of, this would be a good project to do just that. You could embellish the sweater a lot of different ways---one that is nice is to put the year on it, maybe some initials, or a snowflake. If you're going for quick and dirty, minimizing colors makes it easiest.
TINY CHRISTMAS SWEATER ORNAMENT
by Mar Heck
Machine: Standard Gauge (any machine, but larger gauge = larger sweater)
Yarn: Any that works with your machine– I used Symphony, small amounts of red and white
Finished size: body is 2 ½ “ long by 2 ½” wide excluding hanger
Gauge: not important, but mine was
Approximately 8 st x 10 r to one inch at T 8
Pictured is a plain version, but you could do tiny stripes, embroidery on the front, a fairisle snowflake or other stitch types or embellishments. Would be cute to incorporate a person’s name or initials and the year. (See below.) The more colors you use, however, the more ends there are to work in. But you don’t have to be as careful as you would with a life sized sweater. The body is knit in one piece from mock ribbing at the bottom, up over the shoulders to the back side, ending with mock ribbing again. The sleeves are hung from the body and knit downwards, ending at the cuff.
Directions:
Body ---Cut a 12” piece of red yarn and set aside. This will be used for the neck. Bring out 23 stitches and push back to non-working position every other needle. With white, E wrap stitches in work. COR T 3 knit 10 rows. Hang a hem on every other empty needle. 23 needles in work. Hang claw weights. Change to red T 8, knit 10 rows. Bind off 3 stitches for underarm, k 1 row, bind off 3 stitches for other underarm, knit back to right. Knit 10 rows. With a separate piece of main yarn, bind off around the gate pegs the center 9 stitches for the neck opening. Wrap the yarn both sides around the adjacent needle to prevent holes. Push the needles all the way out and lift neck stitches off the gate pegs. With the same yarn piece, ewrap back on the same 9 needles. Wrap the adjacent N to prevent a hole and drop the yarn end for now. Keep N all the way out on the first row so the stitches knit off. Knit 10 rows. Ewrap 3 stitches, knit one row, ewrap 3 stitches for the underarms, knit back to the right. Knit 10 rows. Transfer every other stitch to its
neighbor and push the empty N to the back of the bed. With white, T 3 knit 10 rows. Hang a hem on every other empty needle and bind off all stitches by going around the gate pegs.
Sleeves—With wrong side of sweater facing you, pick up whole stitches of the armhole opening, 10 stitches each side of the shoulder. On the 20 stitches, knit 2 rows, decrease one stitch both sides x 2 (16 stitches). Knit 16 more rows. Transfer every other stitch to neighbor and push empty needles to back of the bed. With white, T 3, knit 10 rows. Hang a hem on every other empty needle and bind off all stitches by going around the gate pegs. Repeat for other sleeve.
Hanger---Pick up 3 stitches at the center back of the neck. Push in one part button. Knit I cord 80 rows (or desired length). Pick up beginning 3 stitches and hang on the stitches in work. Bind off.
Finishing—Seam sleeves and sides with matching colors, hide all yarn ends inside the sweater. Tiny motifs you could use on the front of the sweater:

The heavens sent us 4" of snow overnight. The world looks clean and pretty. I love snow---up until about December 31, then it loses its welcome somehow.
Sunday, December 7, 2008
Oops!
I found two typos in the tiny mittens pattern. If you downloaded the pdf before 8:00 p.m. on Dec.8, please try again. Just click on the picture of the tiny mitts on the right side again to get the revised pattern.
(The typos were that I forgot to say every other needle for the cuff and also forgot to say to knit one row after you transfer stitches for the top of the mitt.)
Sorry!
(The typos were that I forgot to say every other needle for the cuff and also forgot to say to knit one row after you transfer stitches for the top of the mitt.)
Sorry!
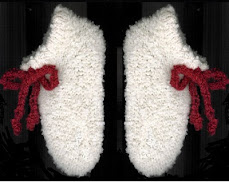
Christmas is coming and my machine is getting a workout!

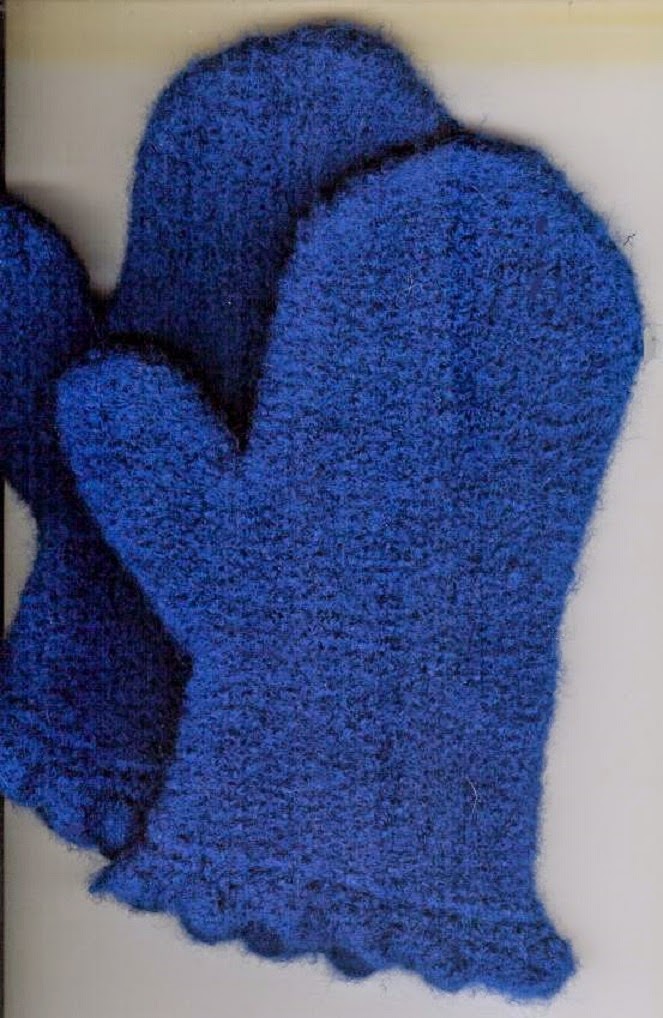
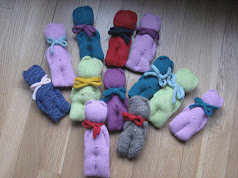
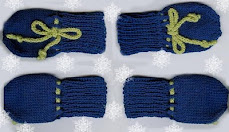
I've been working hard on Christmas preparations. Did three solid days of power shopping and spent a ton of money. Now I'm doing stocking stuffers and ornaments. The easy stuff. I'll have a few patterns to share. Here's the first. It's an easy, cute and fast thing. The mittens are only 1 1/2" tall when made on a standard gauge machine. You don't need to have a ribber. You could try them on a different gauge and get larger mittens, of course. No need for an ornament hanger because you would just drape the mitten strings over a branch. So far I've made 3 pairs, but I'll probably get sick of them soon. I was thinking they would be cute as a topper for gift packages as well. 10 minutes max for a pair of mittens!
Machine: Standard (could use midgauge but mittens would be larger)
Yarn: Any that works with your machine. These were made with Mary Lue’s Symphony
Gauge: doesn’t matter
Finished size: Mittens are about 1 ½ inches in length
Directions:
E wrap cast on with white, every other needle, left needle 7 to right needle 10. T3, knit 10R weighting knitting with your fingers. Hang hem on empty needles. Knit one row to seal hem. Hang claw weight.
Change to red. At T 6 K 5 rows. (6 for second mitten.) Knit thumb: Put all but 4 edge stitches into hold. (For first mitten use 4 needles on right, for second mitten use 4 needles on left.) Knit 16 rows on the 4 thumb stitches, pushing the thumb stitches down with your finger so stitches don’t pop off. Hang a hem from the first row of the thumb.
Hand: Take machine off hold. Knit 11 (10) rows across all 17 needles. Transfer every other stitch to its neighbor, knit one row. Cut 10” yarn tail. Take stitches off and gather into tip. Sew side seam of mitt and sides of thumb with the red tail. Hide yarn tail. Sew cuff with white yarn end. Hide these yarn tails inside mitt also.
Mitten strings (make 2): Pick up 3 st from cuff of one mitten. Knit one row. Set machine for slip (one part button), knit 80 rows. Put outer two stitches on center needle and bind that stitch off. Repeat for other mitten. Hide yarn tail into the string. Tie a bow with the two ends and this is how you’d hang the mittens on a Christmas tree branch. You could use these as a package decoration too.
Subscribe to:
Posts (Atom)